


Overview
Each WebPictureFrames product page doubles as a catalog listing and an interactive Custom Designer. You'll review the frame's look and specs, then work through a guided "Customize Your Design" area to assemble a complete custom design: frame, glazing, matting, backing, spacers/liners/fillets, and hanging hardware.
Tip: The live Package Price updates as you select or remove components, so you can keep aesthetics and budget in balance.
1) Start on the Frame Page
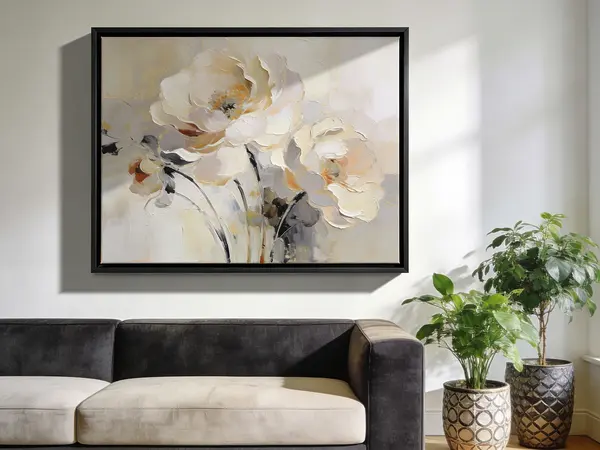
Pick a frame style as your starting point (e.g., Flat Black Wood). At the top of the page you'll find photos, profile details (face width and rabbet depth), and a concise description of suitable use cases (posters, photos, thin canvases/panels).
2) Enter Your Artwork Size
In the Customize Your Design panel, set the Artwork Size (width x height in inches). Use the exact width and height of your artwork.
Note: If you plan to add a mat, still enter the true artwork size. The tool will calculate the mat opening and frame size from there.
3) Use the Visualize Preview (Optional)
Click Upload Image to preview your selections. You can upload a photo of your artwork to see how different mats and frames look together.
4) Choose Your Components
Move through each category. You can add, change, or remove items in any order; pricing updates in real time.
Frame
You are already on a specific frame page. Confirm the style meets your aesthetic and depth needs. If you want a different moulding, return to the catalog and choose another frame page.
Glass & Acrylic (Glazing)
Select from clear acrylic, non-glare or UV-filtering options, or glass where available. Acrylic is lighter and safer for shipping; museum-grade glazing provides superior clarity and UV protection. Remove glazing for open-front canvases.
Mounting Board (Backing)
A foam or archival backing supports your art and helps keep it flat. Usually selected by default for paper art. For rigid panels or stretched canvases, you do not need additional backing.
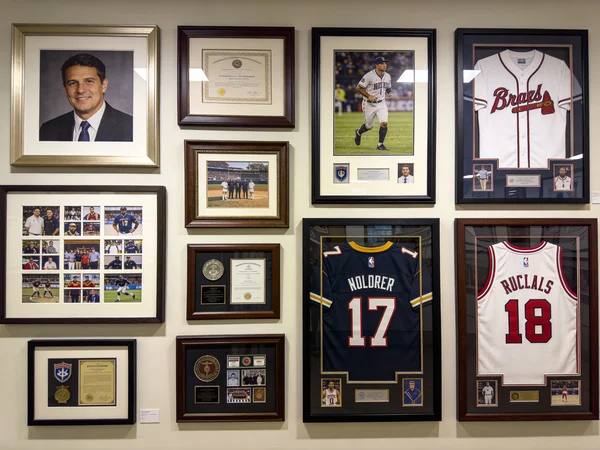
Matting
Add single or multiple mats to introduce space and color around your artwork. Pick color(s) and border width(s). For edge-to-edge designs with no mat, consider spacers.
Spacers & Walls
Use clear spacers when framing without a mat to keep glazing off the art surface. Shadow-box walls add depth for 3D objects or float mounts.
Stretcher Bars
For loose canvas, add stretcher bars to build a stretched canvas. This typically implies no glazing in front (see Compatibility Notes).
Frame Liner
A fabric-wrapped liner (often linen) creates a clean border around paintings, commonly used without glazing. Choose size and color to complement the art.
Frame Fillet
A thin decorative trim that installs inside a mat opening or along a liner's inner edge for an elegant accent.
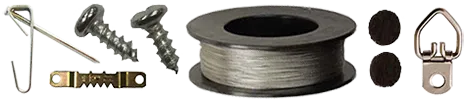
Hanging Hardware
Select a wire hanging kit or other hardware appropriate to the frame size and weight. Most designs include a basic kit by default.
Useful Extras
- Acrylic Cleaning Kit: Cleaner and cloth for safe acrylic care.
- Art Re-Shipping Box: Sized shipping container for mailing the finished frame.
5) Set Artwork Thickness (Required)
Enter the total stack thickness that will sit in the frame (artwork, mats, backing, liner, etc.). This ensures the selection fits within the frame's rabbet depth and that suitable fasteners are planned.
Important: If your stack exceeds the frame's rabbet depth, plan for offset clips or select a deeper frame. For canvases (e.g., 3/4 inch deep), confirm the chosen frame can accommodate it.
6) Review, Save, and Add to Cart
- Price check: Confirm the itemized component prices and the live Package Price.
- Quantity: Set how many identical frames you need.
- Reset / Clear: Start over or strip back to defaults if needed.
- Name & Save Design: Store a reusable configuration under your account.
- Add to Cart: Proceed to checkout when satisfied.
Assembly at delivery: Insert artwork, secure with points/clips, attach hardware, and clean glazing. Refer to framing help articles/videos if needed.
Compatibility Notes
- Stretcher Bars vs. Glazing: Stretched canvases are typically framed without Glass & Acrylic.
- Matting vs. Spacers/Liners: Use a mat or spacers/liner for separation, not both.
- Depth Budget: Total stack height must be less than or equal to frame rabbet depth for a flush fit.
- Large Sizes: Some glass options may be limited; acrylic is preferred for oversized frames.
- Fillets: Pair with a mat or liner; ensure openings and reveals are measured accurately.
Best Practices for Artists
- Measure precisely: Enter exact artwork width x height to the nearest 1/16 inch.
- Match components to medium: Paper art benefits from mats and glazing; canvases often do not.
- Use the Visualize tool: Test mat colors and widths; confirm proportions and harmony.
- Mind preservation: Choose acid-free mats/backing and UV-protective glazing for valuable work.
- No-mat designs: Add spacers to keep glazing off the art surface.
- Save configurations: Reuse named designs for consistent series or reorders.
- Order samples: Verify moulding color/texture on color-critical projects.
Shipping Disclaimer
Even though our art re-shipping boxes are built strong, unforeseen circumstances can occur during transit. WebPictureFrames is not responsible for damage caused by carrier mishandling once the order leaves our facility.
Summary
Select a frame page, enter artwork size, optionally preview with Upload Image, then add the right mix of components. Set the correct artwork thickness, review the live price, save if needed, and add to cart. You'll receive a professional, cut-to-size kit ready for straightforward assembly and display.