Ok

Ok

What is the question
Cancel
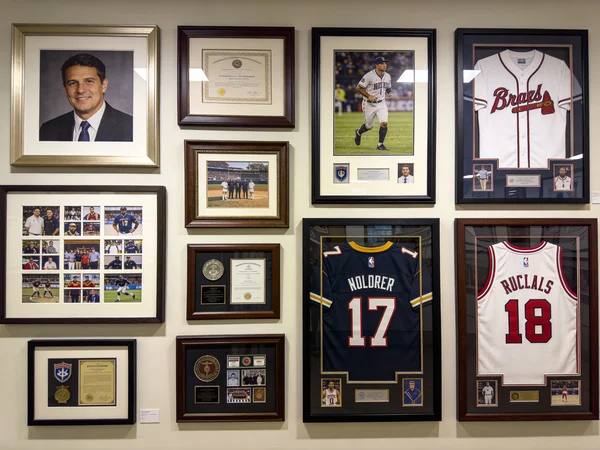
PICTURE FRAMES
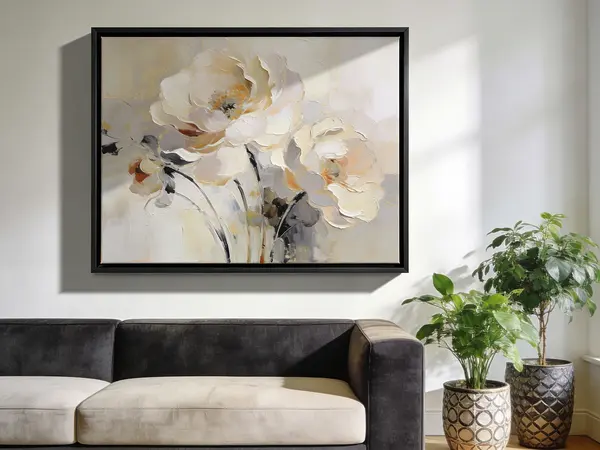 CUSTOM PICTURE FRAMES
CUSTOM PICTURE FRAMES
Design Your Framing Package Online!
Add Mats, Glass & Acrylic, Mounting Board And More.


Search
☰
My Account
Log In
Favorites
Saved Designs
Shopping Cart

A step-by-step guide to fitting glazing (Glass & Acrylic), artwork, mats/spacers, backing board, and hanging hardware into a wood picture frame. Includes pro tips and troubleshooting so your frame is clean, secure, and ready to hang.
Watch the video
This written guide follows our Wood Frame Assembling video. Use it as a checklist while you work.
Tools and materials
Before you start, gather everything so you can close the frame quickly (which reduces dust). If you need supplies, your main categories are backing board, art securing hardware, and picture hanging wire.
- Wood picture frame (assembled)
- Glazing: Glass & Acrylic (shop: Glass & Acrylic)
- Artwork (photo, print, poster, drawing, etc.)
- Mat or spacers (optional). If artwork should not touch glazing, consider glass spacers or a custom mat.
- Backing board (shop: mounting/backing board)
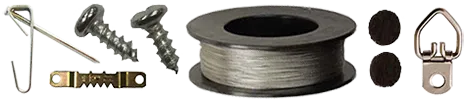
- Securing method: points, turn buttons, or spring clips (shop: spring clips for wood frames)
- Hanging hardware: D-rings, screws, wire, bumpers (shop: hangers and fasteners, screws, felt bumpers)
- Microfiber cloth and a clean soft work surface
Prep your workspace
Most framing mistakes happen because of dust, fingerprints, or a stack that is slightly loose. Spend two minutes on prep and you avoid re-opening the frame later.
- Work face-down on a clean soft surface so the frame finish does not get scratched.
- Wash and dry your hands, or use a clean cloth when handling glazing.
- If using acrylic, keep protective film on until the last possible step, then peel right before final stacking.
- Clean the inside-facing side of glazing right before closing the frame. Inspect it under angled light.
- If you are still sizing your package, measure first: How to measure artwork for a custom picture frame.
Correct stack order (front to back)
The simplest way to avoid confusion is to think in layers from the front (what you see) to the back (what you secure). Most wood frames follow this order:
- Glazing (Glass & Acrylic)
- Mat or spacers (optional, but recommended if art should not touch glazing)
- Artwork
- Backing board
- Filler board (optional, only if you need extra thickness to remove rattling)
If your art is delicate (charcoal, pastel, or anything that can transfer), use a mat or spacers. For mats you can design to a specific opening size, use the custom mat design tool.
Step-by-step: fit art into the frame
1) Place the frame face-down
Lay the frame face-down so you can see the rabbet (the recessed lip inside the frame). This lip is what holds the glazing and the full stack.
2) Insert the glazing
- Set the glazing into the rabbet and confirm it sits flat and square.
- If using acrylic, peel the film right before stacking the artwork to reduce dust attraction.
- If you see gaps or rocking, the glazing may be slightly undersized or the rabbet may have debris. Clean and re-seat.
3) Add spacers or a mat (optional)
If the artwork should not touch glazing, add spacers or a mat now. Spacers are a common solution when you want a full-bleed look. If you need spacers, see glass spacers.
4) Add the artwork
- Place the artwork behind the glazing (or behind the mat opening).
- Before you secure anything, flip the frame over and confirm alignment from the front.
- If alignment is tricky, use small pieces of framing tape (shop: picture framing tape) on the back edge of the artwork to hold it in place during assembly.
5) Add the backing board and tighten the stack
- Place backing board behind the artwork. If you need backing, see mounting/backing board.
- The stack should be snug. If you feel movement, add a thin filler board until the contents are firm.
- Do not force an overly thick stack into the frame. If it is too thick, you may need a deeper frame.
How to secure the contents
Once the stack is correct, secure it evenly around the perimeter. The goal is a firm hold without point pressure that can crack glass. For securing hardware, see art securing hardware.
Even pressure is the key
- Secure opposite sides first (top/bottom, then left/right) so the backing stays flat.
- Work in small increments around the frame rather than fully tightening one corner first.
- If you use spring clips, choose the correct size for your frame and stack thickness: spring clips for wood frames.
Final inspection before closing
- Inspect the glazing under angled light for dust or fibers.
- Confirm artwork is level and centered.
- Confirm backing is fully seated and not bowed.
Install hanging hardware
Hanging hardware depends on size and weight. For most standard frames, D-rings plus wire is the most flexible setup. If you need parts, see hangers and fasteners.
D-rings placement
- Place D-rings at equal height on the left and right rails.
- For heavy frames, use appropriate screws: picture framing screws.
Attach wire with proper slack
- Use quality wire: picture hanging wire.
- Leave enough slack to hook easily, but not so much that the frame leans far from the wall.
Add bumpers
Bumpers protect the wall and help the frame sit level. See felt bumpers.
Troubleshooting
My frame rattles when I pick it up
Add a filler board or thicker backing so the stack is tight, then re-secure evenly. Backing options are here: backing board.
I see dust inside after closing the frame
Re-open the frame, clean glazing immediately before closing, and keep acrylic film on until the last moment. A soft brush or air blower can help remove stubborn fibers without smearing.
The artwork looks crooked from the front
Loosen one side slightly, re-align, then tighten gradually across opposite sides. Small hinge tape tabs can hold the artwork during assembly: picture framing tape.
The stack is too thick to fit the frame
Do not force it. Remove filler layers first. If you still cannot close the frame, you likely need a deeper profile or different frame style.
Common mistakes to avoid
- Leaving acrylic protective film inside the frame.
- Closing the frame without inspecting the inside-facing side of glazing under angled light.
- Over-tightening one corner first, which can bow the backing or crack glass.
- Skipping mat/spacers when artwork should not touch glazing.
- Using wire that is too loose, causing tilt and wall scuffs.
Quick checklist
- Glazing cleaned and inspected under angled light
- Acrylic film removed at the last moment (if acrylic)
- Correct stack order (glazing, mat/spacer, artwork, backing, filler if needed)
- Contents tight (no rattle) before securing
- Secured evenly around the frame
- D-rings level, wire slack correct, bumpers installed
FAQ
Should artwork touch the glazing?
Usually no. Use a mat or spacers to keep artwork from touching Glass & Acrylic, especially for delicate media.
Acrylic vs glass: which should I choose?
Acrylic is lighter and more shatter-resistant, which is helpful for large frames and shipping. Glass is typically more scratch-resistant in everyday handling.
Why does my frame rattle after assembly?
The contents are not tight in the rabbet. Add a filler board or thicker backing so the stack is firm before you secure it.
How do I prevent dust inside the frame?
Clean glazing immediately before closing, keep acrylic film on until the final moment, and inspect under angled light before securing the backing.
Do I need spacers if I am not using a mat?
Use spacers when the artwork surface should not contact glazing or when you want a full-bleed look without a mat.
Related resources
Next steps
Ready to build a complete framing package sized exactly for your artwork?