Ok

Ok

What is the question
Cancel
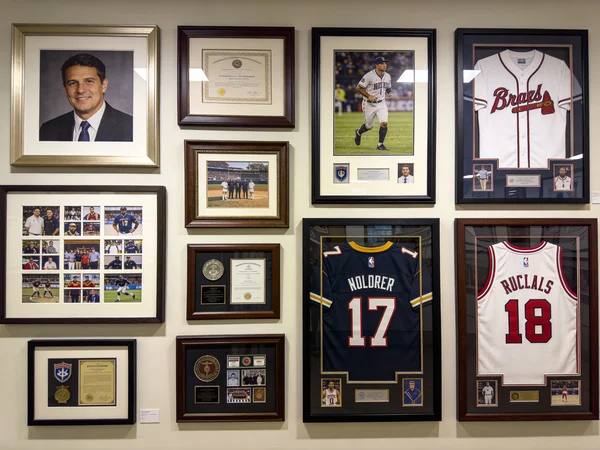
PICTURE FRAMES
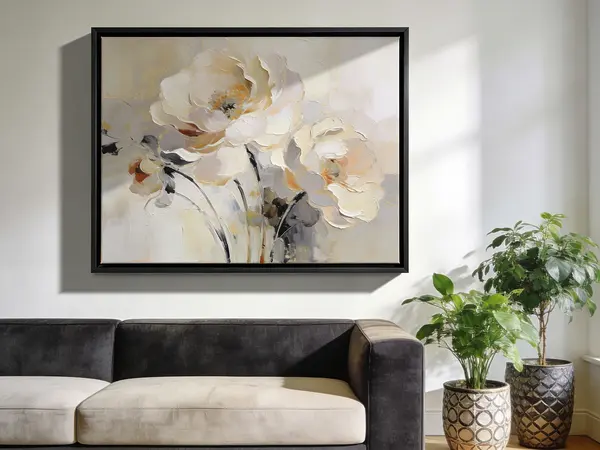 CUSTOM PICTURE FRAMES
CUSTOM PICTURE FRAMES
Design Your Framing Package Online!
Add Mats, Glass & Acrylic, Mounting Board And More.


Search
☰
My Account
Log In
Favorites
Saved Designs
Shopping Cart

Getting accurate measurements for your artwork is the most critical step in ordering a custom picture frame that fits perfectly. Follow this step-by-step guide to measure width, height, depth, borders, and orientation so your frame builds without surprises.
Why Measuring Matters for Custom Framing
Whether you are framing a print, original artwork, stretched canvas, or panel, incorrect dimensions can lead to gaps, overlaps, ill-fitting mats, or even a frame that is impossible to assemble.
A custom frame is only as good as the measurements you provide. Spending a few extra minutes with a tape measure now can save time, money, and frustration later.
Tools You Need to Measure Artwork
- A rigid tape measure or metal ruler with clear inch marks (and fractions) or centimeters.
- A level, clean, flat surface to protect your artwork from dents or scratches.
- Pencil and paper or a digital note to record your measurements.
- Weights ( such as clean books or cans of food from your pantry ) to gently flatten curled artwork if needed.
- Optional: cotton or nitrile gloves for delicate or valuable artwork.
Step-by-Step: How to Measure Your Artwork
1. Prepare and Orient Your Artwork
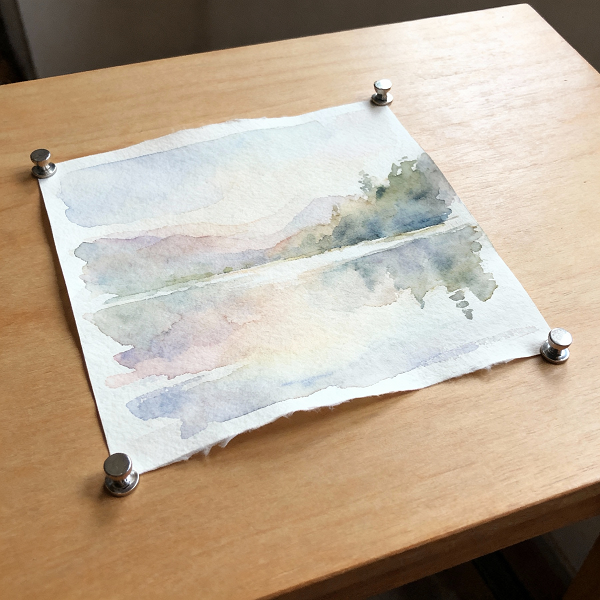
Place the artwork face-up on your flat work surface. If it has been rolled or is slightly curled, gently flatten it by placing clean weights near the edges, avoiding important image areas. Flatten Reverse Roll Video
Decide which side is the top of the artwork. This helps you record your measurements in the standard format of width by height (W x H) and ensures the orientation is correct when you order your frame.
2. Measure Artwork Width and Height

Use your tape measure or ruler to measure:
- Width (W) - horizontal dimension from left to right.
- Height (H) - vertical dimension from top to bottom.
Measure to the nearest 1/16 or 1/8 of an inch, depending on the level of precision you are comfortable with and what your framer supports.
Record your measurements as Width x Height. For example:
24 x 30 inches
Measure to the nearest 1/16 of an inch.
For best results, round up slightly rather than rounding down. A tiny bit of extra room is better than a frame that is too tight for the artwork.
3. Measure Artwork Thickness or Depth
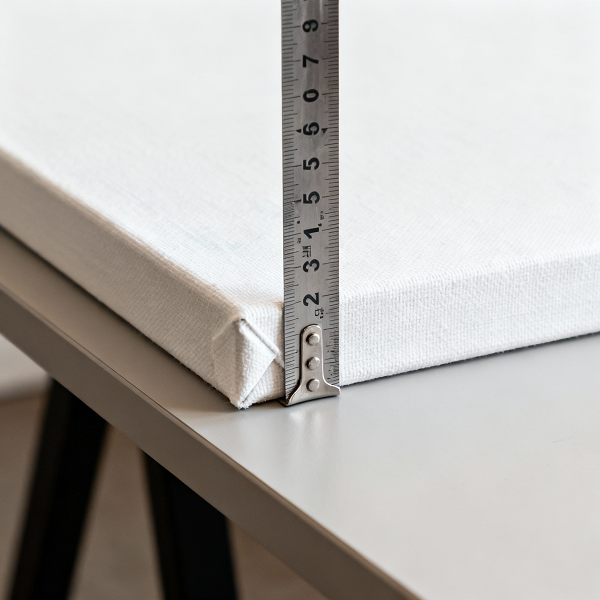
Depth (sometimes called thickness) is critical for canvases, cradled panels, mounted artwork, shadowboxes, and anything that is not simply a thin sheet of paper.
Measure from the very front surface of the artwork to the very back, including:
- Stretcher bars or cradle on a canvas.
- Mounting board or backing panel.
- Any hardware that protrudes from the back.
Write this measurement down as the depth. For example:
Artwork depth: 1 inch
When you order a frame, this depth determines the rabbet depth and clearances needed so the artwork sits comfortably inside the frame.
4. Decide How to Handle Borders and Mats
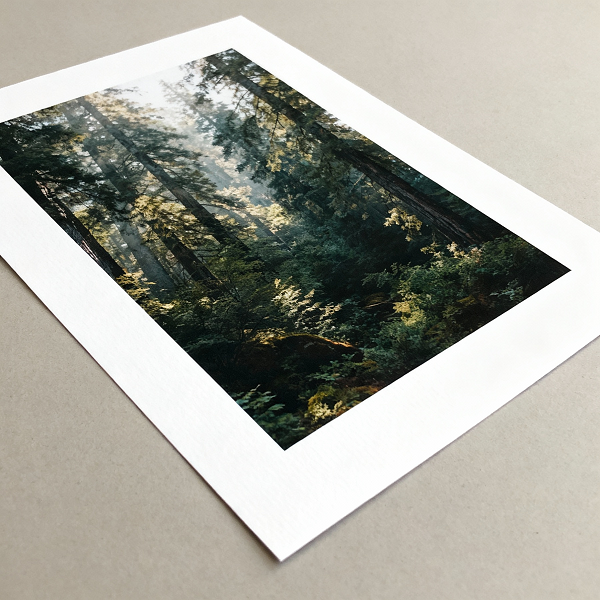
Many prints and photographs have white borders or extra paper around the image area. Before you order your custom frame, decide how you want to treat this border:
- If you want to show the border, measure the full paper size and use that as your artwork size.
- If you plan to hide the border under a mat, measure only the image area and note that your mat should overlap the image slightly.
- If your art already has a mat, you may choose to measure the outside size of the mat instead of the artwork itself.
- Be sure that you make the outside of the mat at least as large as the entire piece of paper or else you will have to cut your print to make it work. Making the outside of the mat larger than your total paper size is acceptable.
For multi-mat or custom mat packages, you can learn more in our guide: How to Build a Custom Mat Package.
5. Record and Double-Check Your Measurements
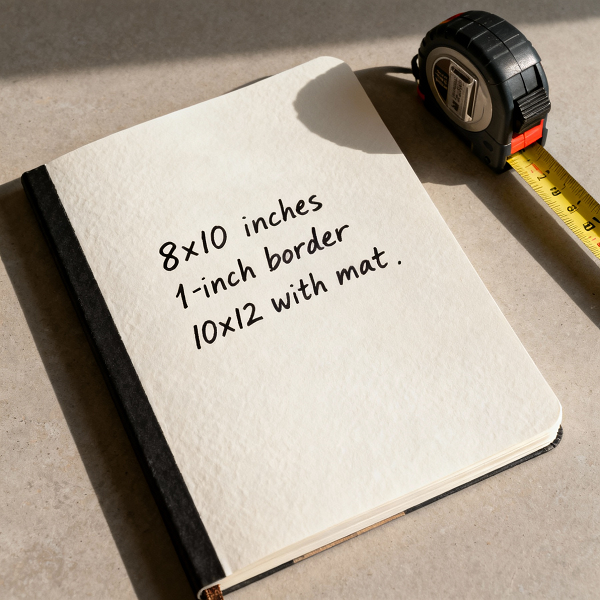
Now combine your numbers and record them clearly. A common format is:
Width x Height x Depth
Example: 24 x 30 x 1 inches
Double-check each measurement at least once, especially if you are framing original artwork that cannot be replaced. It helps to have a second person verify your numbers if possible.
Also decide whether your piece is portrait (tall) or landscape (wide). Most framers assume width is listed first when you enter dimensions online.
Tips for a Perfect Custom Frame Fit
- Use a rigid tape measure or metal ruler, not a soft sewing tape that can stretch or bend.
- Round up slightly rather than rounding down to avoid a too-tight fit.
- Check whether your frame shop adds any automatic clearance or overlap for mats and glazing. It is a standard practice to add an allowance of 1/8 inch
- Include the full depth of any stretcher bars, mounts, or backing boards in your depth measurement.
- If you are ordering multiple frames, label each artwork and its matching dimensions so nothing gets mixed up.
- When in doubt, take a clear photo of your artwork next to a ruler and contact customer service for help.
Special Measuring Cases
Stretched Canvas and Cradled Panels
For stretched canvas or cradled wood panels, depth is extremely important. Measure from the front of the canvas or panel to the back of the stretcher or cradle. If keys, staples, or hanging hardware extend past the back, include that in your depth measurement as well.
When you choose a traditional frame or a canvas floater frame, these measurements help ensure your artwork sits correctly inside the frame rabbet or float space.
Artwork That Already Has a Mat or Border
If your piece is already matted, it is often easiest to measure the outside size of the mat and use that as your artwork size for the frame order. Best practice is to measure each side to make sure of your sizes. To check to see if your piece is square measure it diagonally from each top corner. Verify that it does not vary more than 1/8 inch on smaller pieces and 1/4 inch on larger ones.
If your art has a decorative deckled edge that you want to show, measure the full paper size and use a float or shadowbox style mounting so the edges remain visible.
Oversize or Irregular Artwork
Oversize pieces, multi-panel art, or unusual shapes may require extra planning. Measure the widest and tallest points of the arrangement, and consider how much spacing you want between pieces if you are framing them together. Contact us if you need help planning a layout or determining the best frame style.
Common Measuring Mistakes to Avoid
- Measuring an old frame opening instead of the artwork itself.
- Forgetting to include the artwork depth when ordering frames for canvas or panels.
- Rounding down measurements, which can cause the artwork to buckle or not fit at all.
- Mixing inches and centimeters or switching width and height when entering dimensions.
- Overlooking white borders or signed areas that you actually want to display.
Next Steps: Order Your Custom Picture Frame
Once you have accurate measurements, you are ready to order your custom picture frame:
- Choose your frame style, color, and profile. Sometimes it is preferred to start by selecting the matting and matching the frame to the matting.
- Enter your artwork size (width x height) and depth into the custom frame builder.
- Select matting, glazing, and backing options that fit your artwork and display needs.
- Review all details carefully before completing your order.
If you are framing a canvas or want a modern gallery look, be sure to see our Complete Guide to Floater Picture Frames.
Have questions about measuring your artwork for a custom frame? We are happy to help. Contact us with your measurements and a quick photo, and we can confirm the best frame options for your project.
Related Guides: How to Build a Custom Mat Package | Floater Picture Frames Guide |
Download a measurement cheat sheet here: Measurement Cheat Sheet PDF