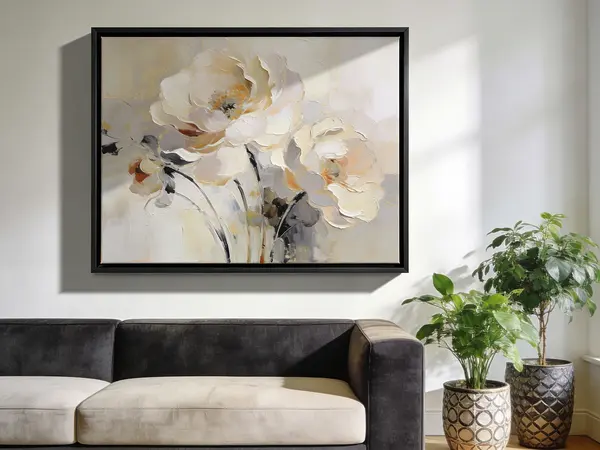


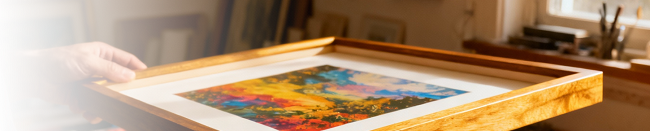
Paper prints are delicate
Paper prints are more delicate than canvas or wood panels. They can crease, ripple, or stain if the wrong tape, pressure, or glazing is used. The good news is that you can frame a paper print safely at home if you follow a few conservation friendly steps.
In this how to framing guide you will learn how to:
- Choose acid free mats and backing boards that do not discolor your print
- Select UV protective Glass & Acrylic to reduce fading and protect the surface
- Hinge mount your print instead of taping all four sides
- Assemble the frame so the art is supported but not crushed
- Avoid the most common mistakes that damage paper prints
Why gentle framing matters for paper prints
Paper expands and contracts with humidity. If you tape a print down on all four sides, the paper has nowhere to move. Over time it can buckle, tear, or develop ripples in the image area. Aggressive pressure from the frame or from glazing that touches the surface can also leave dents or glossy spots.
Conservation framing treats your print as something that may be valuable now or in the future. The goal is to support the art and protect it from dust, light, and handling, while keeping all methods reversible. That means using hinges at the top, acid free materials, and glazing that never sticks to the image.
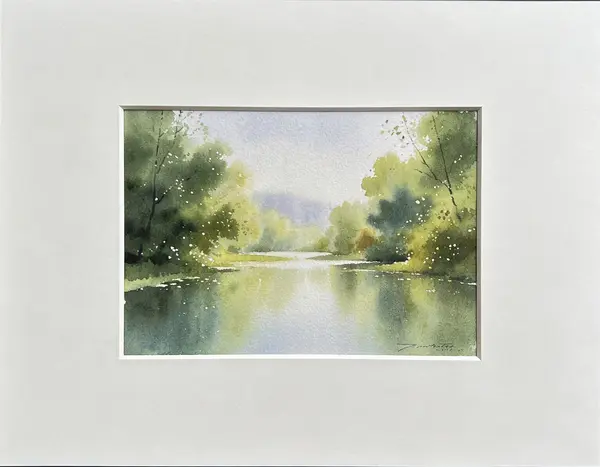
Choose archival mats, backing, and glazing
The materials that touch your print matter just as much as the frame you see from the front. Whenever possible, choose conservation or museum grade components.
Acid free mat board and backing board
Mat board and backing board form the sandwich that supports the print. We recommend using acid free or conservation grade boards so lignin and acids do not migrate into the paper and cause yellowing over time.
- Use an acid free window mat to create space around the image
- Use a matching acid free backing board behind the print
- Avoid cardboard, craft board, or unknown packaging materials
If you need a custom size mat, you can design one with our custom picture mat designer and match it to your frame and print size.
UV protective Glass & Acrylic
Glazing is the clear layer that protects your print from dust and fingerprints. For most paper prints we recommend UV protective Glass & Acrylic. There are products that are made in both Glass & Acrylic that are UV, no-Glare UV and Museum grades.
- UV filtering acrylic helps slow down fading from sunlight and indoor lighting
- Acrylic is lighter and safer to ship and hang than glass
- Non glare and museum grade options can reduce reflections and improve viewing
You can explore Glass & Acrylic options in our Glass & Acrylic section and choose the protection level that fits your project.
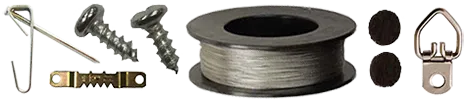
Archival hinging tape and mounting supplies
To attach the print to the backing board, use conservation grade hinging tape or Japanese paper hinges with a reversible adhesive. This creates a strong but gentle connection that can be removed in the future.
- Avoid pressure sensitive office tape and packaging tape
- Use narrow strips of archival hinging tape along the top edge only
- Consider Japanese paper hinges for especially valuable or thin prints
See our hinging tape and mounting supplies for conservation friendly options.
Measure your print and design the mat opening
Accurate measurements are the foundation of a clean, professional framing job. It is worth taking a few extra minutes to measure carefully.
- Measure the width and height of the paper to the nearest 1/16 inch. Note both the total paper size and the visible image area.
- Decide how much of the paper border you want to hide under the mat. Many framers cover 1/8 inch to 1/4 inch of the paper on each side to keep the print from falling through the mat opening.
- Choose mat border sizes that feel balanced with the print. For example, a small photograph might look good with 2 inch borders, while a large poster might need 3 inches or more.
When you order a custom mat, you will usually provide the outside size and the window opening size. If you are not sure which numbers to use, our custom mat design guide walks through the process in more detail.
Prepare your workspace and handle the print safely
Before you open the print or start working with mats and acrylic, set up a clean, safe area.
- Clear a table so no grit or tools can press into the image surface
- Wash and dry your hands or use clean cotton gloves
- Keep food, drinks, and tape dispensers away from the print
- Handle the paper by the edges and avoid touching the image area
If the print arrives rolled in a tube, allow it to relax between clean boards with a little weight on top before you start framing. Never force a tightly curled print flat with aggressive pressure.
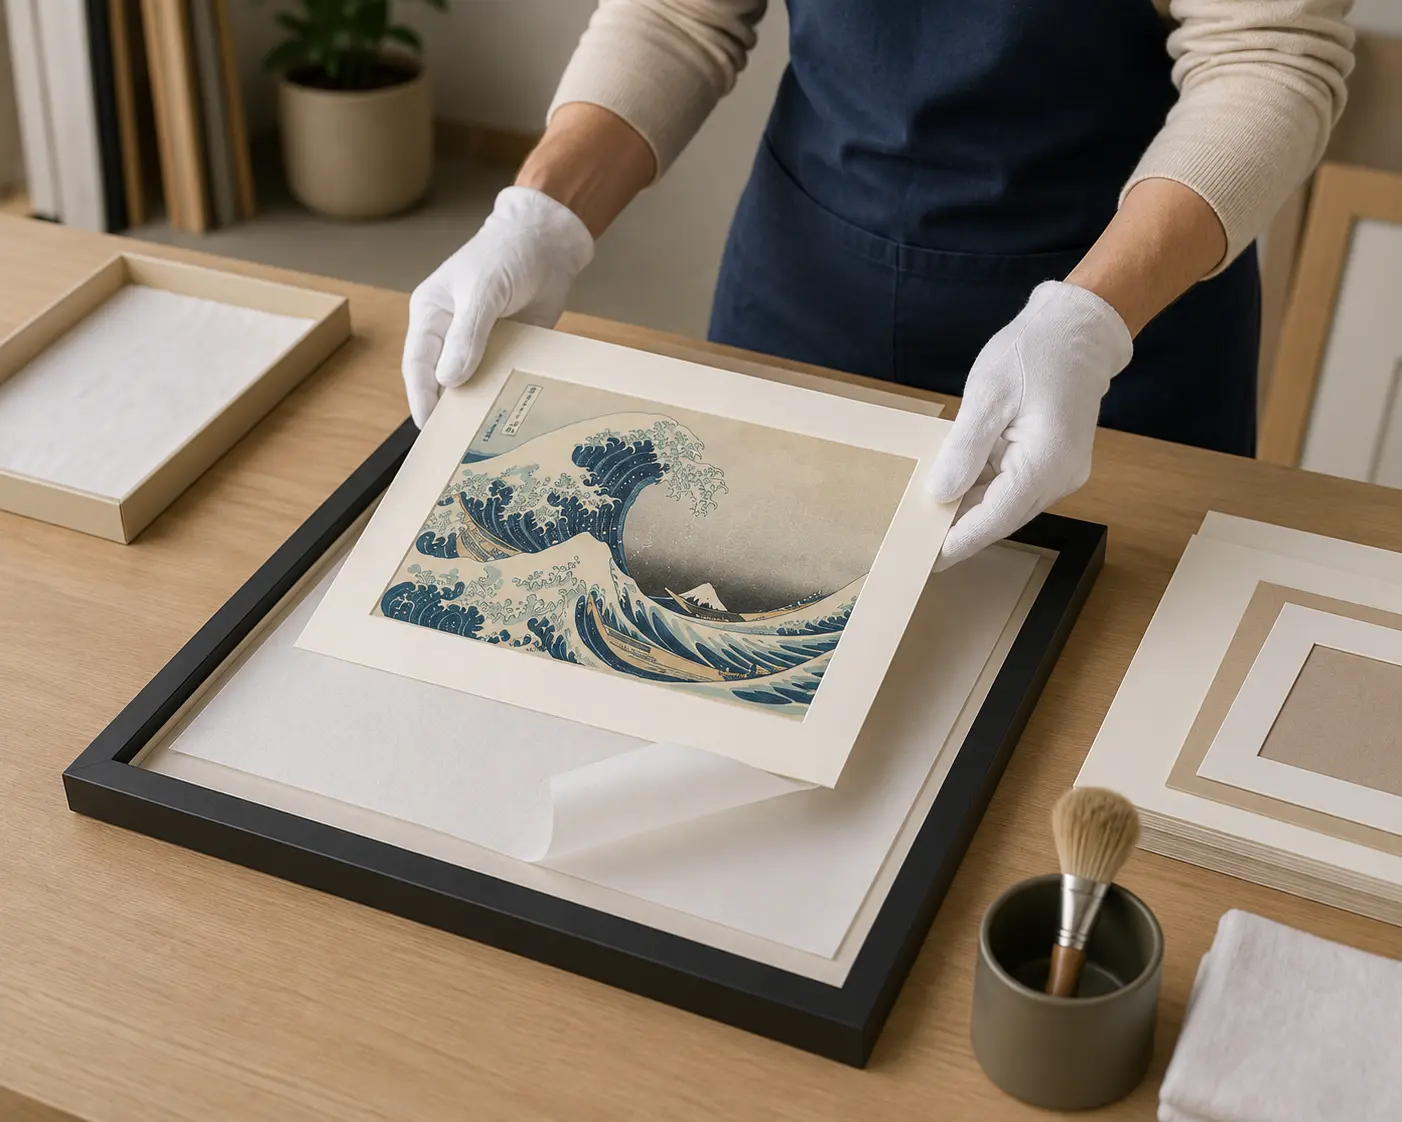
Hinge mount the print instead of taping all edges
The safest way to attach a paper print is with small hinges along the top edge only. This lets the print hang like a page in a book so it can move naturally with humidity changes.
Why not tape all four sides
Taping around all four edges locks the paper in place. As the paper expands and contracts, the stress builds along the tape line and can cause ripples, cracks in the emulsion, or even tears at the corners.
How to create T hinges
- Lay the backing board flat and position the print where you want it to sit behind the mat opening.
- Place a clean weight or strips of scrap mat board along the bottom edge to keep the print from shifting.
- Lift the top edge slightly and slide a short strip of hinging tape under the print, sticky side up.
- Press the print gently down onto the tape so it adheres along the back of the top edge.
- Add a second strip of tape across the first to form a T shape, anchoring it to the backing board.
Two or three small T hinges are usually enough for most prints. The hinges should support the print without straining the paper.
Assemble the frame without crushing the print
Once the print is hinged to the backing board and aligned with the mat opening, you are ready to assemble the frame.
Clean the Glass & Acrylic first
- Remove the protective film from acrylic if present
- Use a soft, clean microfiber cloth and an acrylic safe cleaner
- Wipe both sides carefully to remove dust and fingerprints
Stack the framing layers in the correct order
- Place the clean Glass & Acrylic into the frame rabbet first.
- Place the window mat in the frame, checking that the bevel is facing the artwork side.
- Place the hinged print and backing board behind the mat, print facing forward.
- Add any additional backing or filler boards needed to fill the frame depth.
Close the frame with points, spring clips, or other hardware, applying enough pressure to keep the stack snug but not so much that it bows the backing board or crushes the print.
Seal, hang, and care for your framed print
After the frame is closed, flip it over and inspect the front for dust specks or fibers. If you see anything trapped under the acrylic, open the frame and remove it now before hanging.
Many framers add an acid free dust cover on the back of the frame to keep out dust and help protect the contents. You can finish the project with hanging wire, D rings, and felt bumpers from our picture framing supplies.
Hang the finished piece out of direct sun and away from strong heat or humidity sources. With the right materials and care, your framed print can look great for many years.
Common mistakes to avoid when framing paper prints
- Using office tape or masking tape to mount the print
- Taping all four edges of the paper so it cannot move
- Allowing the print to touch the Glass & Acrylic surface
- Skipping acid free mats and backing boards
- Forgetting to clean the glazing before closing the frame
- Hanging valuable prints in direct sunlight even with UV glazing
Avoiding these mistakes is just as important as choosing a beautiful frame. The right technique can protect both the look and the value of your artwork.
FAQ
Should Glass & Acrylic touch my paper print
No. Glazing should never touch the image surface. A mat, spacer, or raised liner should create a small air gap so the print does not stick to the Glass & Acrylic. If for some reason you do break this rule acrylic is better than glass as it sweats less.
Can I frame a poster without a mat
Yes, but you should still avoid taping all four sides. Consider using hidden spacers around the edges or a narrow mat opening that just overlaps the paper enough to hold it in place.
Is it worth paying for UV protective acrylic
For most prints and photographs, UV protective acrylic is a smart choice. It helps slow fading caused by daylight and bright indoor lighting. Even with UV glazing, avoid hanging art in direct sun.
Do I need museum level materials for every print
Not every print needs the most expensive materials, but acid free boards and a proper hinging method are recommended anytime you care about the artwork lasting. For irreplaceable pieces, consider conservation or museum level options.
Next steps
Ready to frame your paper print with archival materials and professional mounting methods