
Ok

Ok

What is the question
Cancel
PICTURE FRAMES
 CUSTOM PICTURE FRAMES
Design Your Framing Package Online!
Add Mats, Glass & Acrylic, Mounting Board And More.





Search
☰

My Account
Log In
Favorites
Saved Designs
Shopping Cart
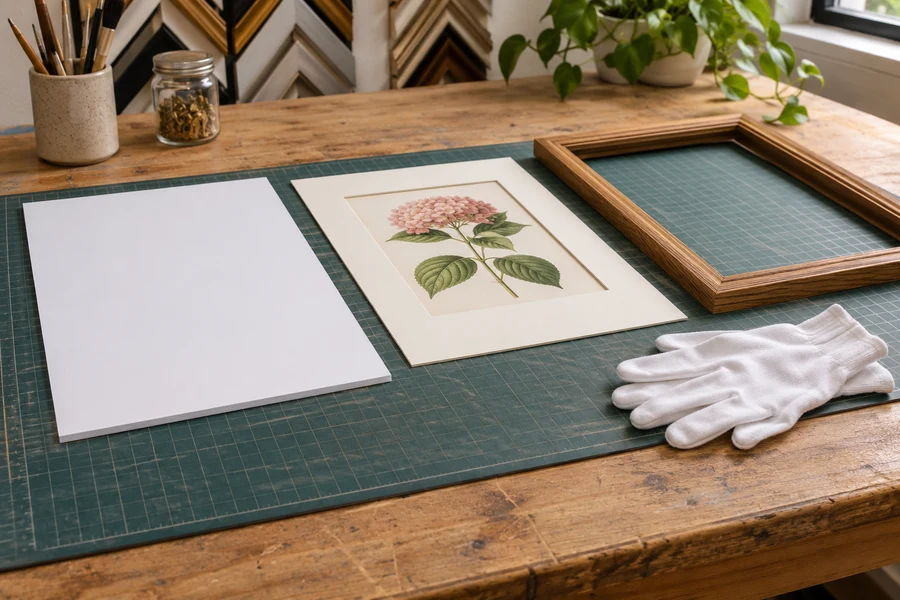
Acid-free foam board separates the artwork-contact material decision from the thickness decision. Compare the available sheets against both support needs and usable frame depth.
Watch: Acid-Free Foam Board for Picture Framing
Choose the material before the thickness
Consider acid-free foam board when the artwork is important or irreplaceable, distinguishing it from regular foam core. That specification is a property of the selected board, not something established by its white color or thickness.
Also choose a suitable mounting method. An acid-free backing sheet does not make every adhesive, attachment, or other layer of the frame appropriate for the artwork.
Acid-free backing thickness options
Compare the two available thicknesses
Check physical fit independently of the contact-material specification. Add the glazing, mats, artwork, and any spacers before comparing package thickness with the usable rabbet. Do not force a thicker board into a package that the hardware cannot retain correctly.
Check the board before closing the frame
- Confirm the ordered material and thickness.
- Check the backing's outside dimensions against the framing package.
- Seat the sheet flat without crushing its edges or bowing it.
- Retain the package evenly and inspect the artwork from the front.
View 1/8-inch acid-free foam core and 3/16-inch acid-free foam core. For other constructions and mounting choices, see the backing-board guide.
Verify the contact material before comparing thickness
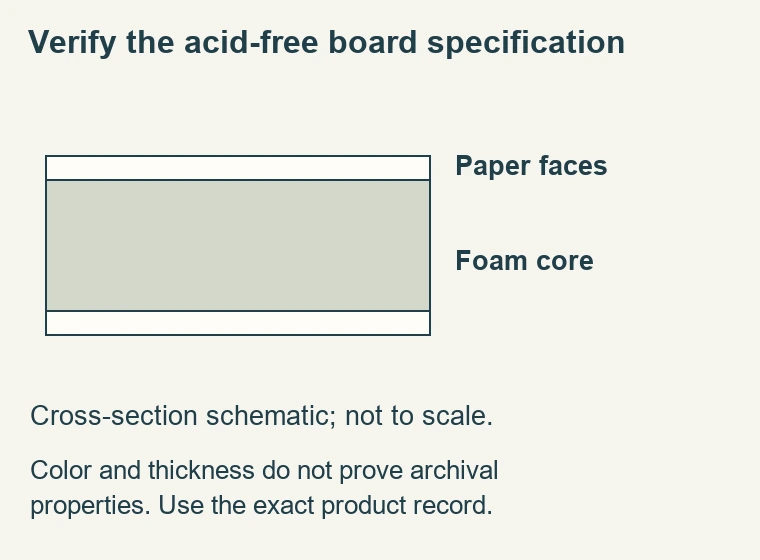
- The first distinction is the specified acid-free backing, not simply the white color of the sample. If the artwork requires archival contact materials, select a board whose current description verifies that property. Do not identify an unknown offcut by its appearance or assume that all paper-faced foam boards have the same composition. The material record should remain associated with the sheet until the framing package is complete.
- The guidance below supplements the short comparison with ordering and fitting checks. It does not mean that a suitable backing makes every other component appropriate. Mats, mounting materials, and any paper or fabric that contacts the artwork need their own verified selection. A protective pane at the front also does not change the identity of an unsuitable layer at the back.
- Use a complete description in the order: the selected acid-free board, its thickness, and the required outside size. Those details communicate different requirements. The word archival alone does not state stiffness or fit, and a thickness alone does not state material suitability. Keeping the information together makes a future replacement possible without trying to infer the original specification from a framed surface.
Check a mixed-material order before beginning
- If the project includes several kinds of backing, lay out the order references and identify each sheet before the artwork is attached. White faces and similar edges can make regular and acid-free boards difficult to distinguish casually. Keep any supplied descriptions associated with the correct dimensions and thicknesses. A supplier's confirmation is more useful than assuming the board nearest a particular frame must belong to it.
- Review the mounting materials at the same time. The acid-free support specification and the chosen adhesive or hinge arrangement are separate entries in the package plan. If a required material is missing, resolve it before assembly rather than substituting an unidentified item from the bench. This keeps the stated conservation purpose connected to the actual materials used, and reduces the need to reopen a completed frame because its hidden construction cannot be verified.
Separate support, mounting, and retention
- The backing provides physical support behind the work and helps complete the package. It does not automatically attach the artwork. Decide how the image is located and held, taking account of its condition and any need for future removal. A suitable board used with an inappropriate permanent adhesive can create a different problem from the one the material choice was intended to address.
- Retention is another separate job. Points, tabs, or clips keep the assembled package in the frame. They should not be used to create the artwork attachment by squeezing the sheet so tightly that it cannot move. Confirm the mounting arrangement before adding the backing and retainers. If the image slips during a dry fit, solve its intended attachment rather than simply increasing pressure at the back.
- For valuable, damaged, or unfamiliar artwork, describe the work to an appropriate framing or conservation professional before choosing an attachment. Consider the acid-free material for important work, and select the mounting procedure separately. Do not convert a board recommendation into an assumption that one adhesive or fitting technique is suitable for every medium.
Balance stiffness against the usable rabbet
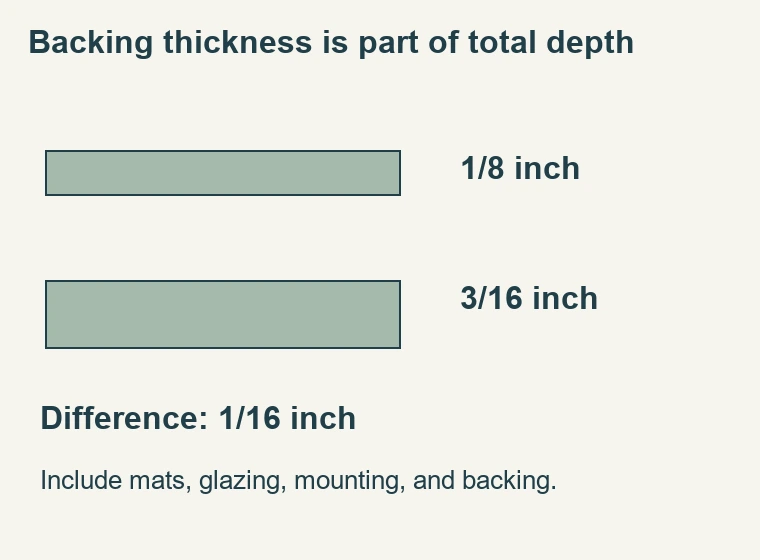
- The two available thicknesses are 1/8 inch and 3/16 inch. The thinner board uses less depth; the thicker one is the more rigid option discussed. Their difference is 1/16 inch, which can matter when the rest of the package nearly fills a shallow recess. Compare those physical choices only after the required contact-material specification has been established.
- Measure the full intended stack, including glazing, mats, artwork support, backing, and any spacers. The frame's usable rabbet is the relevant receiving space. Do not substitute its overall moulding height for that measurement. A frame can have a substantial external profile but limited space where the package actually seats, especially once several mat layers or additional separation are included.
- If depth is insufficient, assess the frame and support options together. A thinner board may solve a depth problem only if it still provides suitable support at the required dimensions. Removing backing or necessary separation to retain a favored moulding is not a coherent correction. Likewise, compressing foam under tight retainers should not be used to make an over-deep package appear to fit.
Order the correct outside dimensions
- The backing size follows the complete package, which may be larger than the picture because of a mat. Keep the paper size, visible image window, outside mat size, and frame receiving size distinct. Follow the current ordering convention and confirm any stated allowance. Do not add or subtract a clearance borrowed from another supplier's instructions without checking whether the designer already handles it.
- When replacing an old board, measure the actual receiving opening rather than copying an obviously damaged sheet. Check whether the mat or glazing arrangement has changed. An old backing can have been cut incorrectly or forced into place; reproducing it exactly may preserve the original error. Record both the intended dimensions and the selected thickness before ordering the replacement.
- For several frames, keep the boards identified through preparation. Similar white sheets of different specifications or thicknesses can become confused on the bench. Associate each with its order and artwork record. Do not write on a surface that may contact the work or introduce an improvised label into the package. Clear external organization is more reliable than a guess after the sheets are stacked together.
Prepare and fit without damaging the board
- Check the delivered material, size, thickness, and condition.
- Prepare a clean work area and keep cutting debris and loose hardware away from the artwork.
- Complete the selected mounting arrangement before treating the backing as final.
- Seat the board evenly and inspect for catching edges or trapped components.
- Retain the package using hardware suited to its actual back position.
- Check the front for alignment and debris before finishing the back.
If the board is dented or crushed where a retainer bears, inspect the fit and applied force. A clean-looking final back is not enough if the support has been distorted. Check package depth, retainer type, and whether the board is fully seated. The correction may involve changing the frame or retaining arrangement rather than adding more points to an unsuitable setup.
If a thin sheet bows, examine its support and the dimensions involved. A hand-held sample does not establish a maximum span for every package. Consider whether another compatible backing construction or thickness is needed and whether it fits the frame. Material suitability and physical stiffness must both be satisfied; neither one makes the other question irrelevant.
Review the framing system beyond the backing
- Check that the mat and any other contact layers meet the artwork's requirements. Verify the glazing separately for the desired UV filtering, reflection appearance, weight, and handling. Plan a suitable gap between artwork and glazing where required. These decisions support the same project but address different functions. An acid-free backing does not establish a UV-filtering pane or an appropriate display location.
- Keep the complete order scope clear. A backing board does not automatically include hinges, adhesive, glazing, retaining hardware, a dust cover, or hanging fittings. Confirm what is supplied and which steps remain after delivery. This is especially important when moving from a ready-made frame to a custom package in which components are selected separately.
- When the frame is reopened later, inspect the board rather than reusing it by habit. Check for damage and re-evaluate fit if the artwork or other layers change. Preserve the original material identity with the record. If a replacement is needed, reproduce the required property and physical dimensions rather than choosing a visually similar unidentified board.
- The purpose of the acid-free choice is a verified artwork-contact material within a suitable support system. It is not a promise that the artwork can never change. Thoughtful mounting, appropriate glazing, adequate frame depth, and considered display conditions remain relevant. The completed order should preserve the material requirement through every component that matters to the work.
Made in the USA
Handcrafted by American framing experts
Family Owned
Serving customers for over 40 years
Premium Shipping
Professionally packaged for safe delivery
Ready to Hang
Hardware included with all frames
Framing Specialists
Over 40 years of custom framing experience
