
Ok

Ok

What is the question
Cancel
PICTURE FRAMES
 CUSTOM PICTURE FRAMES
Design Your Framing Package Online!
Add Mats, Glass & Acrylic, Mounting Board And More.





Search
☰

My Account
Log In
Favorites
Saved Designs
Shopping Cart
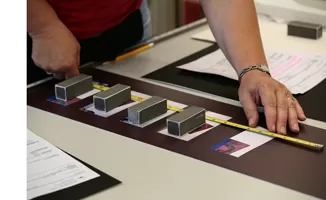
A frame is one part of the project. Use the video and checklist to plan the glazing, mats, backing, securing hardware, and hanging setup your artwork needs.
Watch: what should you order with your frame?
The demonstration compares loose paper artwork, an already-matted piece, and stretched canvas. Use the current ordering notes below when reviewing hardware choices.
For a paper print, plan the whole package
A typical paper-artwork project needs a frame, glass or acrylic, backing, an artwork attachment method, and a way to secure and hang the finished package. A window mat is optional as a design choice; when needed, a mat or suitable spacers keep the artwork away from glazing. Stretched canvas calls for a different package.
Check what is selected, not just the frame photo. Glazing, mats, backing, and services are separate design choices. Reuse suitable components you already own and confirm everything else in the cart before ordering.
1. Start with the artwork and what you already have
Identify whether you are framing loose paper, an already-matted piece, stretched canvas, or a rigid panel. Record its width, height, and thickness, and list any suitable glazing, mat, backing, or hardware you will reuse.
Check condition as well as size. An old backing board may fit but be unsuitable for the artwork; existing glazing may be scratched or the wrong dimensions. For measuring help, use how to measure artwork for a custom frame.
This guide plans the order. It does not replace the fitting instructions or a mounting plan for fragile, valuable, or unusual artwork.
2. Choose the components by their job
For a paper print, plan glazing, a mat or appropriate spacing, backing, and an attachment method. For stretched canvas, choose a compatible standard or floater frame and a suitable securing method. Do not apply the paper-print package to every artwork.
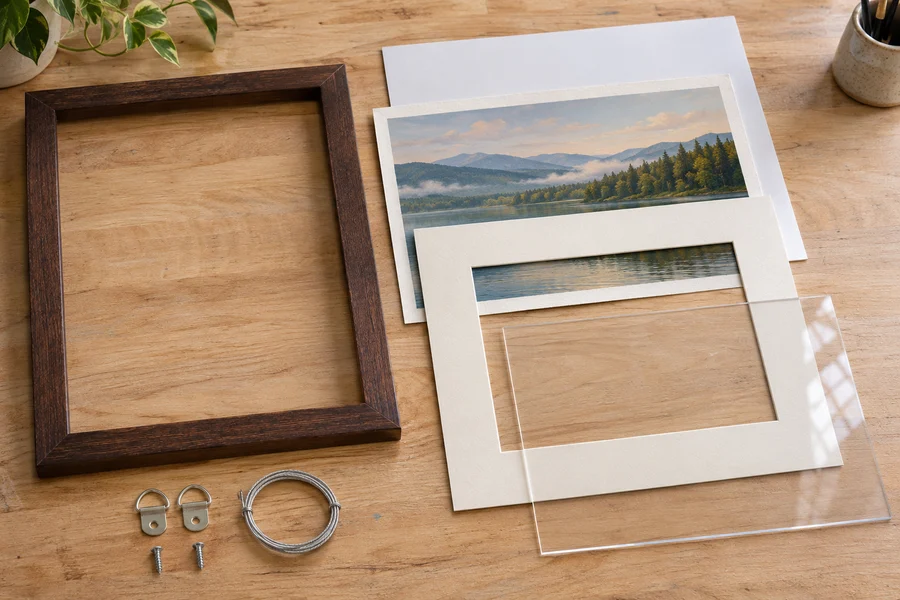
| Component | What it does | What to check |
|---|---|---|
| Frame | Surrounds and holds the package. | Insert size, profile, usable rabbet depth, and compatibility with the artwork. |
| Glass or acrylic | Provides a protective front surface for suitable artwork. | Weight, reflections, UV-filtering needs, and spacing from the image. Compare glass and acrylic. |
| Mat or spacers | A mat provides a visual border and separation; spacers provide separation without a visible mat border. | Opening, outside dimensions, and adequate separation for the artwork surface. Choose a mat. |
| Backing board | Provides support behind flexible artwork and the package. | Material, thickness, dimensions, and whether existing support can be reused. Choose backing board. |
| Artwork attachment | Positions the artwork on its support. | A suitable method such as hinges or corners; a mat opening alone does not attach the artwork. Plan print mounting. |
| Artwork securing hardware | Retains the package or canvas in the frame. | Frame type and full package thickness; supply your own material thickness through Art Thickness. |
| Hanging hardware | Provides the frame-side hanging arrangement. | The selected hanger or wire option, its installation, and a wall fixing suited to the wall and finished weight. |
Use the checklist for your project
Loose print, photograph, or paper artwork
Plan the frame, glazing, backing, attachment method, and securing and hanging arrangements. Add a mat if you want its border; use appropriate separation from the glazing. Choose preservation materials and attachment methods to suit the artwork.
Artwork already matted and backed
You may only need the frame, suitable glazing, and the securing and hanging arrangements. Measure the outside of the existing mat and the thickness of everything you are reusing. Confirm that the backing and artwork attachment are suitable before skipping those items.
Stretched canvas in a standard frame
The video shows a traditional frame with hanging hardware, without the paper-artwork glazing and backing package. Also confirm how the canvas will be retained and how its depth relates to the frame. A frame can look appropriate from the front yet need a different securing arrangement at the back.
Stretched canvas or an art panel in a floater frame
Choose a compatible floater frame, plan the reveal, and confirm the mounting and hanging arrangements. A floater supports the artwork differently from a standard frame with an overlapping lip. A thin panel may need a different attachment method from a stretched canvas; do not assume the same screws work for both. Use the floater-frame selection guide and floater installation instructions.
Canvas is not a universal no-glazing rule. The video's oil-painting example is a common setup. If a particular artwork needs glazing, confirm spacing and a compatible package before ordering.
3. Check the width, height, and full package depth
Confirm the insert dimensions and add the thicknesses of glazing, mats, artwork, backing, and any spacers. Compare the full package with the frame's usable rabbet depth. For a floater frame, check canvas or panel depth, reveal, and mounting access.
Think front to back: glazing, mat or spacing arrangement, artwork and its attachment, then backing. Securing hardware retains this package in the frame; hanging hardware performs a separate job.
For matted paper artwork, the outside mat dimensions determine the package size; the window opening does not. Use the mat-measuring guide when planning that distinction.
Physical fit and visual scale are separate checks. A frame must accommodate the full package, and its face width and profile should suit the artwork. A deeper rabbet alone does not establish suitability for every canvas or object. See how to determine rabbet depth.
4. Check hardware and installation separately
Separate the hardware that retains artwork in the frame from the hardware that hangs the frame on the wall. Review the selected hanging option and report the thickness of materials you are supplying through Art Thickness. Check whether professional hanging-hardware installation is selected.
What the current ordering flow includes
- Standard hanging option: the current designer adds a standard hanging-hardware option when a frame is first added. Wood-frame hanging options can be changed or removed; check the choice in your design before adding a duplicate kit.
- Metal frames: the hanging-hardware selection page states that metal frames ship with the hardware and wire needed to assemble and hang the frame.
- Artwork securing setup: the Art Thickness selector tells the framing team how to set up retention for the package. Enter only the thickness of materials you supply yourself; the designer accounts for mats, glazing, and backing ordered from us.
What to select or confirm
- Glazing, mats, and backing: check the actual selected items. A frame photo does not mean these are all included.
- Professional hanging-hardware installation: this is a separate selectable service. Hardware in the package and hardware installed on the frame are different things; confirm the chosen orientation when ordering installation.
- Assembly and fitting: check the order's assembled or unassembled choice and plan who will insert and secure the artwork. Do not assume a supplied hardware kit means the whole framing project is already assembled.
- Wall fixing: confirm the hook or anchor suits your wall and the finished package. The frame-side hanging arrangement alone does not establish that.
The video is a component overview. Use these current ordering notes and the cart details to confirm your actual package.
5. Save this checklist before you order
Check every selected item, dimension, quantity, hardware choice, and assembly or installation option in the cart. Confirm which components you are supplying yourself and how you will fit and hang the finished package.
- Artwork type: __________ Width x height: __________ Thickness: __________
- Suitable items I will reuse: __________
- Frame style, insert size, and available depth checked.
- Glazing selected or intentionally omitted for the chosen artwork.
- Mat or spacing arrangement checked, including opening and outside dimensions.
- Backing and artwork attachment method planned.
- Art Thickness describes only materials I am supplying.
- Artwork securing arrangement and frame-side hanging hardware confirmed.
- Hanging-hardware installation and display orientation checked.
- Assembly, fitting, quantities, and final cart items checked.
Print this page or copy the checklist into your project notes. Once the package arrives, follow the instructions for fitting art into a wood frame or assembling a metal frame, as applicable.
Common ordering questions
Does ordering a frame automatically include glass, a mat, and backing?
Do not assume that it does. Check the components selected for your design and shown in the cart. Glazing, mats, and backing are separate design choices; a frame-only order is different from a complete framing package.
Do I need new backing if my artwork is already matted?
Not necessarily. If the existing backing is suitable, supports the artwork, and fits the new package, you may be able to reuse it. Check its condition, outside dimensions, attachment method, and the complete package thickness.
Do I need glass or acrylic over stretched canvas?
The video describes a typical stretched oil-painting setup without glazing. Do not treat this as a rule for every canvas or medium. If glazing is required, plan separation from the painted surface and confirm a compatible frame and mounting arrangement.
Is hanging hardware the same as artwork securing hardware?
No. Artwork securing hardware retains the artwork package or canvas in the frame. Hanging hardware attaches the finished frame to its wall-hanging system. Both jobs must be accounted for.
Is hanging hardware included with my frame?
The current designer adds a standard hanging-hardware option when a frame is first added; wood-frame hanging options can be changed or removed. The metal-frame selection page states that assembly and hanging hardware and wire are included. Review your selected option and cart. Professional hanging-hardware installation is a separate selectable service.
What should I enter for Art Thickness?
Enter the thickness of the artwork and other materials you are supplying yourself, following the selector instructions. Do not include materials ordered from WebPictureFrames again; the designer already accounts for those when setting up artwork securing hardware.
Build your framing order
Shop picture frames Find framing supplies
For an uncertain fit or unusual artwork, ask our framing specialists before ordering.
This guide draws on the WebPictureFrames.com component video and current designer instructions. Our family-owned business has more than 40 years of practical framing experience. Learn about our framing shop.
Made in the USA
Handcrafted by American framing experts
Family Owned
Serving customers for over 40 years
Premium Shipping
Professionally packaged for safe delivery
Ready to Hang
Hardware included with all frames
Framing Specialists
Over 40 years of custom framing experience
